

The interface consists of Data (1) and Rows (2):
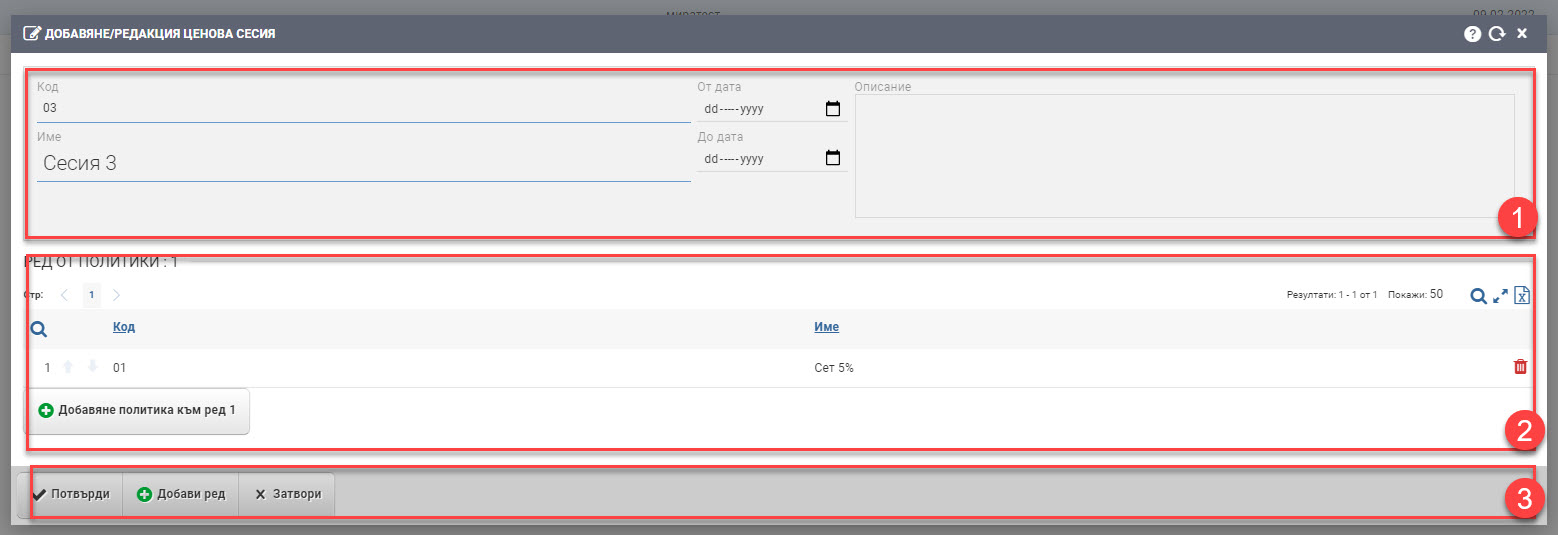
Data (1)
You must fill in:
- Name – name of the price session;
- Code – price session code.
Additionally, you can set a time frame for the pricing session by adding a from date/to date from the calendar and add a description in free text.
Lines (2)
In the row fields, the pricing policies to the session must be entered, and they must be sorted by priority. To do this, you must first create a policy row, which is done by clicking (+) Add Row. You will then be presented with a list of already created pricing policies to choose from. Using the (+) button on the selected pricing policy line adds it to the session. You can add multiple policies, and once you’re done adding, you need to click the Close button to return to the original session creation interface.
Once the policies have been added, you can prioritize them in Row (2) by using the up and down arrows on each row or delete them as needed.
To add a new row to the pricing session, use the Add New Row button in the Interface Footer.
To save your changes, you need to click the Confirm button.