

Interface for editing/setting limits per customer. It consists of Limits (1), Settings (2) and History (3):
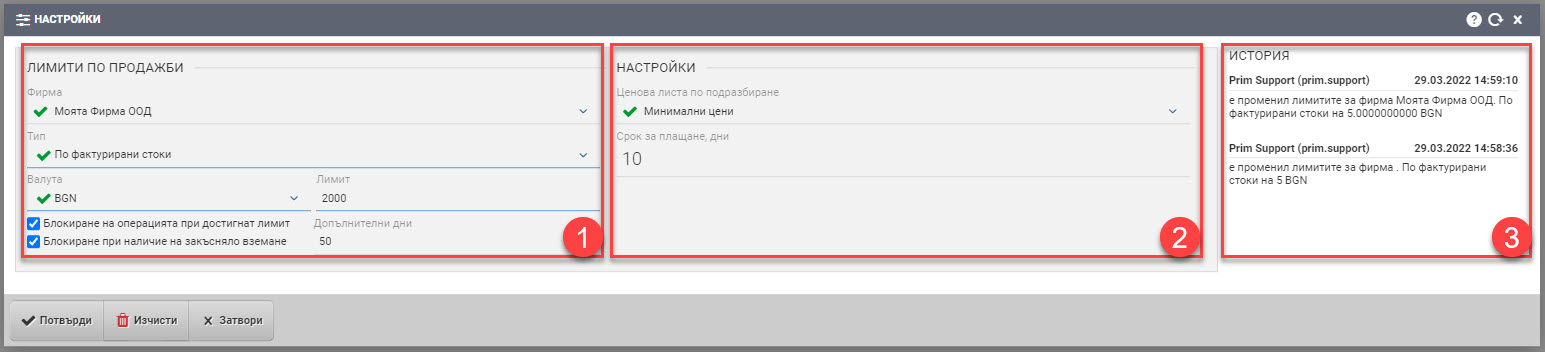
Limits (1)
In the fields you must select what the limit conditions will be:
| Field | Description |
| Company | You choose which own company the limit will be associated with. This field is mandatory. |
| Type | Select a limit type: – on invoiced goods. The limit will be calculated on the basis of financial documents. – by goods sold. The limit will be calculated based on sales. Depending on the type set, the system will do a check based on a financial document or sale. Mandatory for choice. |
| Currency | Choose a limit currency. Mandatory for choice. |
| Limit value | Enter a limit value. Mandatory for choice. |
Checker Block transaction when limit reached controls whether the system will stop a transaction (invoice or sale) when the limit is reached. For example, if you have set a limit of sold goods of 100 BGN and the customer has already sold goods for 80 BGN, when trying to create a sale for more than 20 BGN, the system will stop the process by error.
Check Blocking in the presence of a past due receivable controls whether the system will block transactions if the customer has unpaid debts. When a check is complex, a field for Additional days to pay will appear. They are different from the Invoice Payment Due Days and are not tied to it, but are only used for Customer Block Days.
Checkers manage the ability to stop operations when a limit is reached, but if they are not put in, the system will only inform you that the limit has been reached, but will not stop the process.
In the case of checks, transactions can only be confirmed, despite the limits reached, by users who are eligible for limit violations.
Settings (2)
In Settings (2) you can set additional conditions to the customer such as Default Price List and Payment Term, Days of Financial Documents. The fields are optional.
History (3)
In the field you can see a history of the limit with user data, date and time, and information about the changes made.
All changes are saved with the Confirm button.
If you want to remove the entered data, press Delete.
If you want to return to the front interface without making changes, click the Close button.